Post By: Sam Sheokand
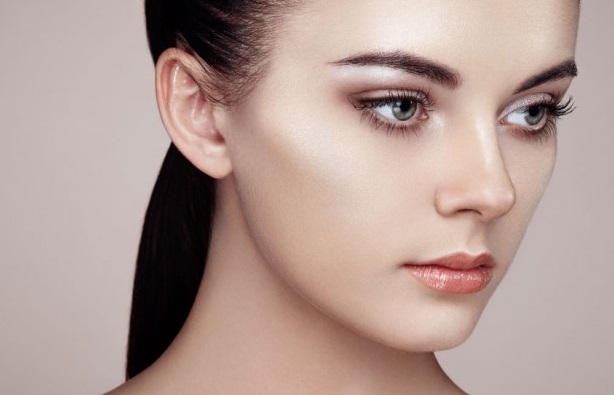
Strobing has taken the beauty world by storm. It’s the new buzz around the beauty hub. Everybody looks so smitten that you can spot strobing on international fashion weeks and runways.
Still after contouring? Okay, who does not like the illusion of high cheek bones and a natural looking flushed look? It’s all contouring magic. But contouring needs a lot of practice and is complicated for beginners. The amount of blending and precision put in contouring is directly proportional to the results. You must not only, know the high and low points but these points should also be blended seamlessly into each other. If you feel little intimidated by contouring, strobing is for you.
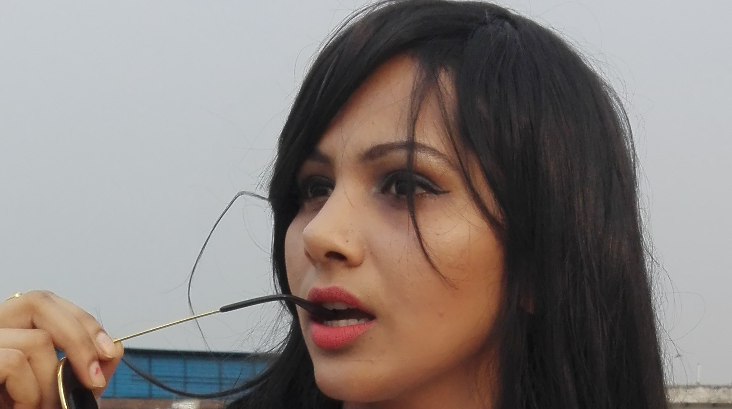
Contrary to contouring, Strobing, is relatively new, easier and still impressive when done right. It only requires highlighter to do all the work. “Let there be light” is the principle on which strobing is based. You are supposed to put your basic moisturizer & foundation (only if you want). Then highlighter comes into play. You highlight those parts of your face where light hits and gets reflected, like your brow bone, under the high of your brows, middle of forehead, bridge of nose, cheekbones, cupid bow, centre of chin. Yes, the highlighting is done as you do while contouring, but strobing involves only highlighting. It gives more natural look and your face is not covered with layers. But it’s your preference if you want to go full sculpted look, or just to highlight your best features. Strobing can come handy when you are on the go and you don’t have much time. Also one would prefer it for her every day look unless your job/day requires full on makeup face.
If you are not a makeup girl or mostly go even without a blush, strobing can enhance your features in no time.
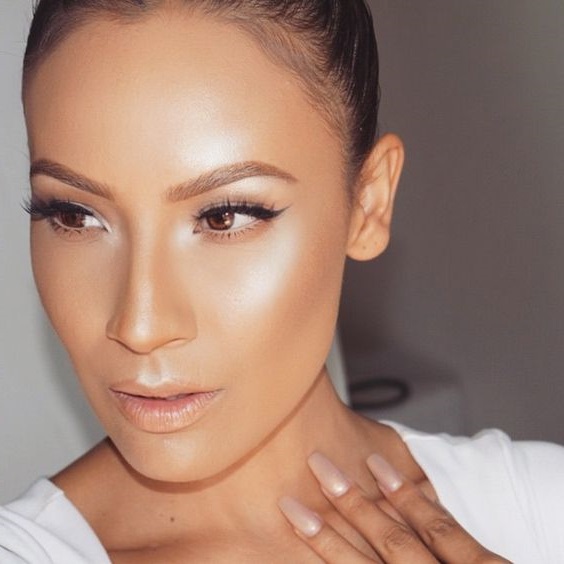
Though dry skinned beauties gets the obvious glow through strobing, but oily skinned girls should not be disheartened as there are ways, we too can flaunt the latest trend.
Steps to Strobing:
Prepare your face:
No matter what makeup you are going to wear or how you are going to wear it, first things first. Cleanse-Tone-Moisturise. Clean your face with your favourite cleanser which suits you. Tone it to get a smoother looking skin. Do not skip moisturiser even if you have oily skin.
Oily Skinned beauties can go for a mattifying moisturizer, while dry skinned would need something heavy duty like cetaphil moisturizing cream.
Apply Primer:
Primers are important as they make your makeup last long. Also if you don’t know, primers actually creates a barrier between your skin and the makeup, that you put on, so that the makeup does not hurt your skin. Be it from NYX or Smashbox, it’s your personal choice.
Put Foundation/Concealer/Tinted Moisturizer/BB/CC Cream: It’s time to move on to next step. Decide what you want to wear as your base. You can go with foundation and/or concealer, tinted moisturizer, a BB or a CC cream. It’s totally up to you. You can start bare face too if you are confident about your skin.
Apply Blush/Bronzer (optional):
If you want to apply blush or bronzer go for it. Just make sure if you have oily skin, go for matte/powdered form blush/bronzer. Only your highlighter should have little sheen. Because your face produces a lot of oil by itself and after few hours you already have that natural glow on your face just at the right faces. If you put everything shiny/shimmery, you will end up looking like a disco ball.
Apply Highlighter:
and a lot of it on right places. You need to apply highlighter below your brow line, on bridge of your nose, to cheekbones, at the inner corners of eyes and little on your chin.
If you have acne prone skin, you should skip highlighting your breakout places like cheekbones or chin otherwise you will highlight your blemishes.
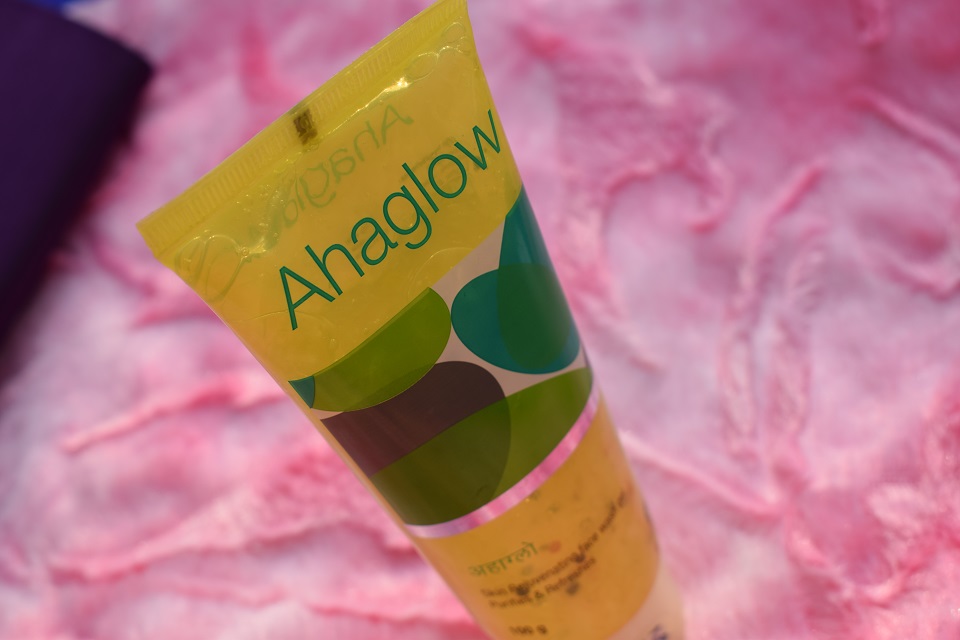
This technique looks like no work, but healthy lifestyle & food habits are major factors behind the glow. You should maintain effective cleansing-moisturizing rituals as well as for extra oomph factor, try out some brightening deep cleaning masks.
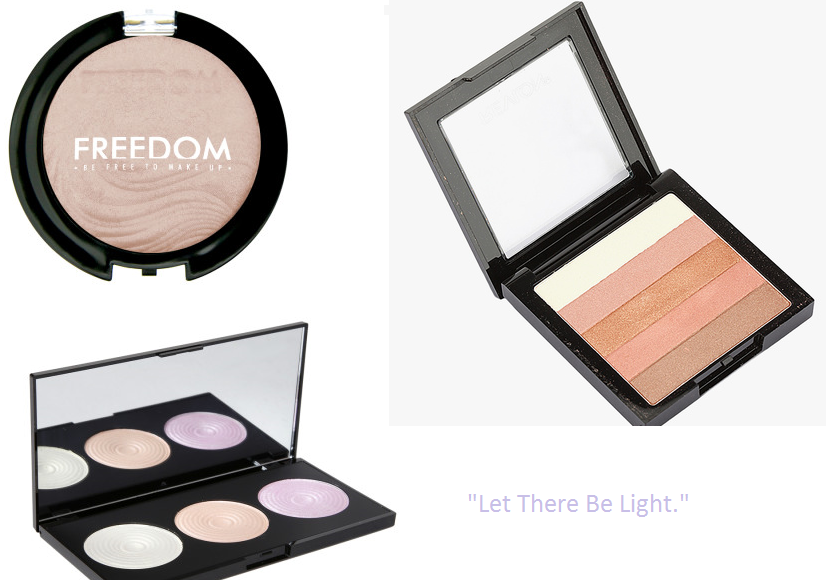
Highlighter shades for various skin tones:
Fair tones:
If your skin tone falls in this category, Champagne tone highlighters are just the right products for you. Have you tried Benefit Cosmetics High Beam or Anastasia Beverly Hills Illuminator in Riviera?
Light to Medium Tones:
Most of the Indian women’s skin tone varies from light to medium skin tones & pink champagne tone highlighter is the right choice. Lakme, Revlon, Colorbar etc. there are various brands in India which provide nice highlighters for Indian skin tones.
Olive Skin Tones:
For little tanned skinned beauties, Golden tone works like a charm like Benefit Sun Beam.
Dark Skin Tones:
The dark beauties can go for terracotta tones like The Multiple-South Beach from Nars
If you don’t know much about the highlighter tones, you can just hit MAC store in your city, and try out MAC strobe Cream/Lotion depending on your skin type.
I hope you had fun reading this post. How much have you mastered the art of strobing or are you still serious with contouring?
Stay High, Stay Fab.
